Adotionpack Office 365 PowerBI

Office 365 Adoption content pack

Overview of the Office 365 Adoption content pack

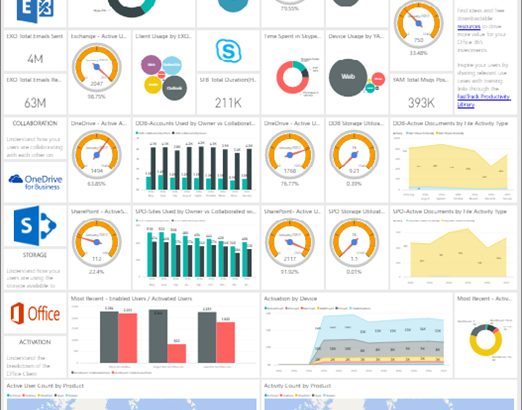
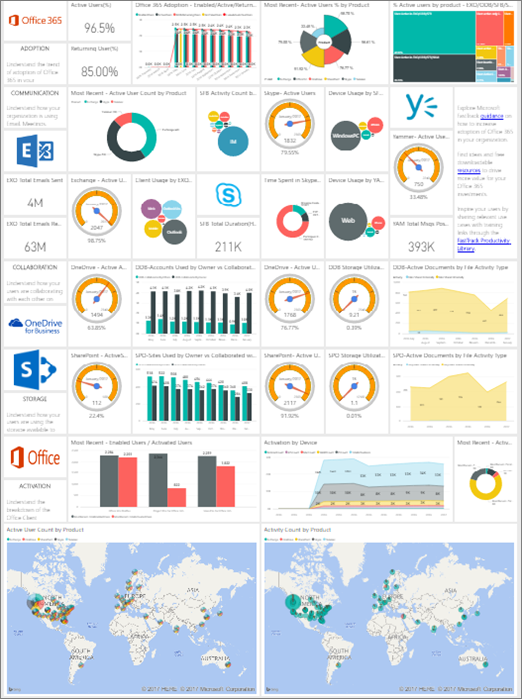
Use the Office 365 Adoption content pack within Power BI to gain insights on how your organization is adopting the various services within Office 365 to communicate and collaborate. You can visualize and analyze Office 365 usage data, create custom reports and share the insights within your organization and gain insights into how specific regions or departments are utilizing Office 365.

The content pack gives you access to a pre-built dashboard that provides a cross-product view of the last 12 months an  contains a number of sections. Each section provides you with specific usage insights. By clicking on the top level metrics you can access more detailed reports. User specific information is available for the last month.

See Enable the Power BI adoption content pack for Office 365 to start collecting data.

A screen shot of the list of reports included in the adoption content pack

Reade more:

https://support.office.com/en-gb/article/Office-365-Adoption-content-pack-77ff780d-ab19-4553-adea-09cb65ad0f1f?ui=en-US&rs=en-GB&ad=GB&fromAR=1&sp=6364168217082812508915


How to find Office 365 Tenant Id

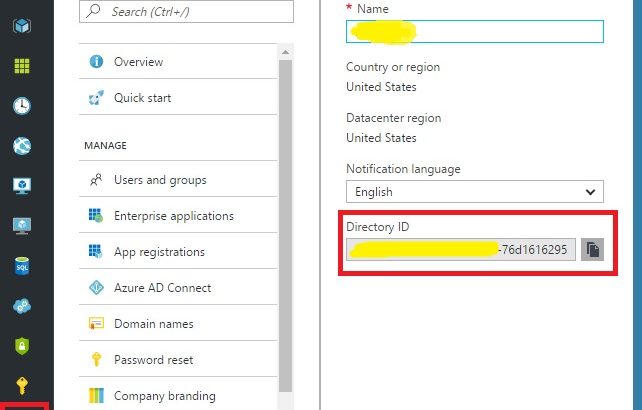
Find your Office 365 Tenant ID via the Azure AD Portal

http://blog.velingeorgiev.pro/how-find-office-365-tenant-id-new-azure-ad-portal

Use Powershell

https://support.office.com/en-us/article/Find-your-Office-365-tenant-ID-6891b561-a52d-4ade-9f39-b492285e2c9b?ui=en-US&rs=en-US&ad=US

You can use Windows PowerShell to find the tenant ID. You’ll need the Microsoft Azure PowerShell module.

Open a Microsoft Azure PowerShell command window and run the following script, entering your Office 365 credentials when prompted.

Login-AzureRmAccount Your tenant ID is listed in the output.

Or use your webbrowser

https://login.windows.net/YOUROFFICE365DOMAINNAME.onmicrosoft.com/.well-known/openid-configuration

SharePoint Online limits

SharePoint Online Limits

Source: https://technet.microsoft.com/library/mt842345.aspx

Find the SharePoint Online limits for Office 365 Enterprise plans and for standalone plans.

Feature Office 365 Business Essentials Office 365 Business Premium Office 365 Education Office 365 Enterprise E1 Office 365 Enterprise E3 Office 365 Enterprise E5

Office 365 E5 Education

and F1

Storage 1 TB per organization plus 0.5 GB per license purchased 1 TB per organization plus 0.5 GB per license purchased 1 TB per organization plus 0.5 GB per license purchased 1 TB per organization plus 0.5 GB per license purchased 1 TB per organization plus 0.5 GB per license purchased 1 TB per organization plus 0.5 GB per license purchased
Terms in store 200,000 200,000 200,000 200,000 200,000 200,000
Storage for site collections Up to 25 TB per site collection or group Up to 25 TB per site collection or group Up to 25 TB per site collection or group Up to 25 TB per site collection or group Up to 25 TB per site collection or group Up to 25 TB per site collection or group
Site collections per tenant 500,000 per organization 500,000 per organization 500,000 per organization 500,000 per organization 500,000 per organization 500,000 per organization
File upload limit 15 GB 15 GB 15 GB 15 GB 15 GB 15 GB
Number of users Up to 300 Up to 300 1– 500,000 1– 500,000 1– 500,000 1– 500,000


How to use Guest access in Microsoft Teams

Source: https://support.office.com/en-us/article/Guest-access-in-Microsoft-Teams-bd4cdeec-4044-4b4b-9df1-beb139013a3f?ui=en-US&rs=en-US&ad=US

Guest access in Microsoft Teams allows teams in your organization to collaborate with people outside your organization by granting them access to teams and channels. A guest is someone who isn’t an employee, student, or member of your organization. They don’t have a school or work account with your organization. For example, guests may include partners, vendors, suppliers, or consultants.

Organizations using Microsoft Teams can provide external access to teams, documents in channels, resources, chats, and applications to their partners, while maintaining complete control over their own corporate data.

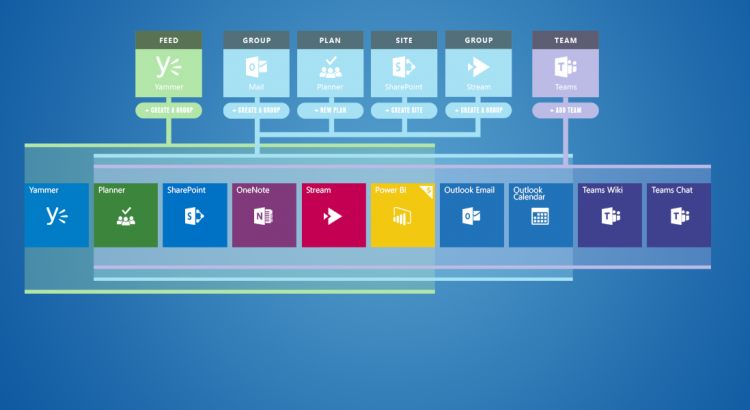
Microsoft Teams is built upon Office 365 Groups and provides a new way to access shared assets for an Office 365 group. Microsoft Teams is the best solution for persistent chat among group/team members. Office 365 Groups is a service that provides cross-application membership for a set of shared team assets, like a SharePoint site or a Power BI dashboard, so that the team can collaborate effectively and securely.

How a guest joins a team

A team owner in Microsoft Teams can add and manage guests in their teams via the web or desktop. Guests can have any email address, and the email account can be a work, personal, or school account.

Here’s how a guest becomes a member of a team:

  • Step 1 A team owner or an Office 365 admin adds a guest to a team.
  • Step 2 The Office 365 admin or the team owner can manage a guest’s capabilities as necessary. For example, allowing a guest to add or delete channels or disabling access to files.
  • Step 3 The guest receives a welcome email from the team owner, inviting them to join the team. After accepting the invitation, the guest can participate in teams and channels, receive and respond to channel messages, access files in channels, and participate in chat. While using Microsoft Teams, a combination of text and icons gives all team members clear indication of guest participation in a team. For more details, see What the guest experience is like.

Manage | FAQ

What the guest experience is like

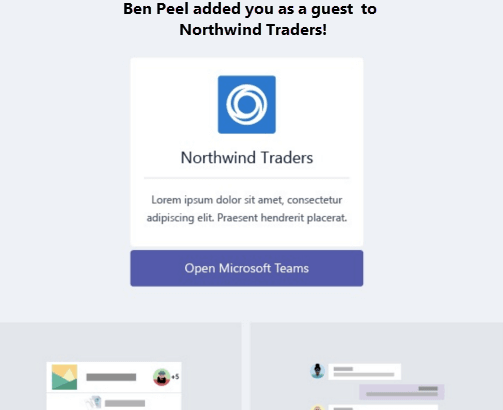
When a guest is invited to join a team, they receive a welcome email message that includes some information about the team and what to expect now that they’re a member. The guest must redeem the invitation in the email message before they can access the team and its channels.
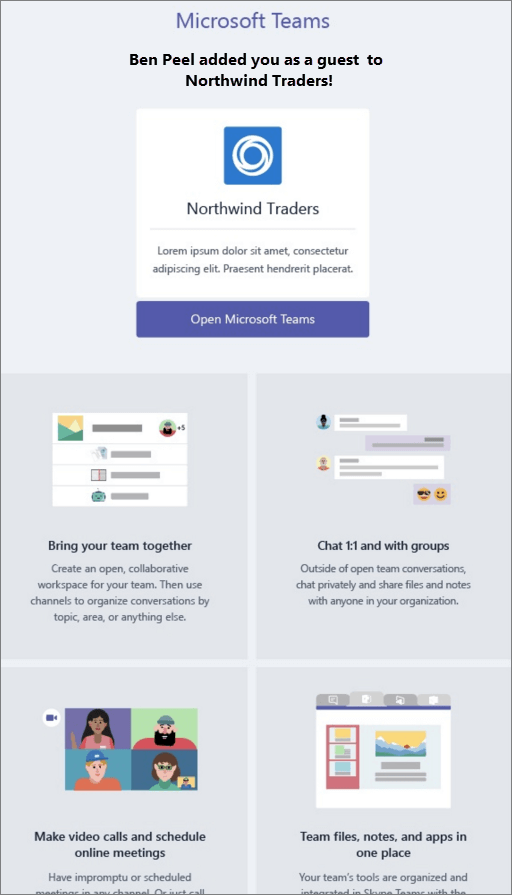
Screenshot shows an example of a welcome email message sent by a team owner in Microsoft Teams to a guest user. The message includes text that can be customized by the team owner and brief descriptions of Teams features like chat, calls, and meetings.

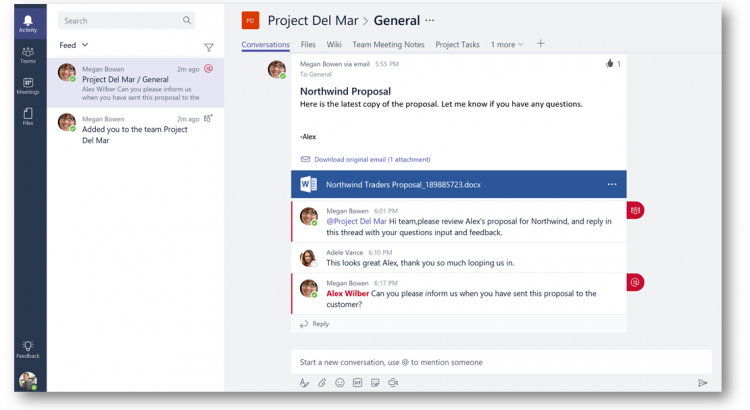
All team members see a message in the channel thread announcing that the team owner has added a guest and providing the guest’s name. Everyone on the team can identify easily who is a guest. As shown in the following screenshot of a sample team, a banner indicates “This team has guests” and a “GUEST” label appears next to each guest’s name.
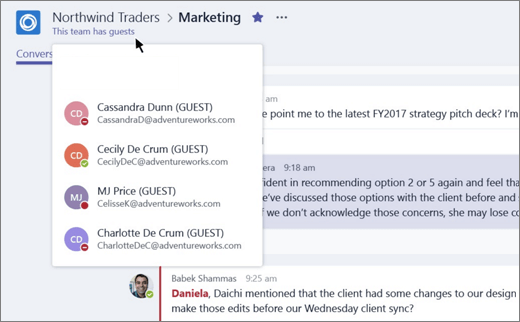
 

Screenshot shows a portion of the Marketing channel for Northwind Traders, with the notification in the top banner stating "This team has guests" and users who are guests identified with the word "GUEST" next to their name.

The following table compares the Microsoft Teams functionality available for an organization’s team members to the functionality available for a guest user on the team.

Capability in Teams Teams user in the organization Guest user
Create a channel

Team owners control this setting.

checkmark checkmark
Participate in a private chat checkmark checkmark
Participate in a channel conversation checkmark checkmark
Post, delete, and edit messages checkmark checkmark
Share a channel file checkmark checkmark
Share a chat file checkmark
Add apps (tabs, bots, or connectors) checkmark
Create tenant-wide and teams/channels guest access policies checkmark checkmark
Invite a user via any email address outside the Office 365 tenant’s domain checkmark
Create a team checkmark
Discover and join a public team checkmark
View organization chart checkmark

NOTE: Office 365 admins control the features available to guests.
More information

Administrator settings for Microsoft Teams

Frequently asked questions about Microsoft Teams – Admin Help

How do I add links to my social profiles in Delve?

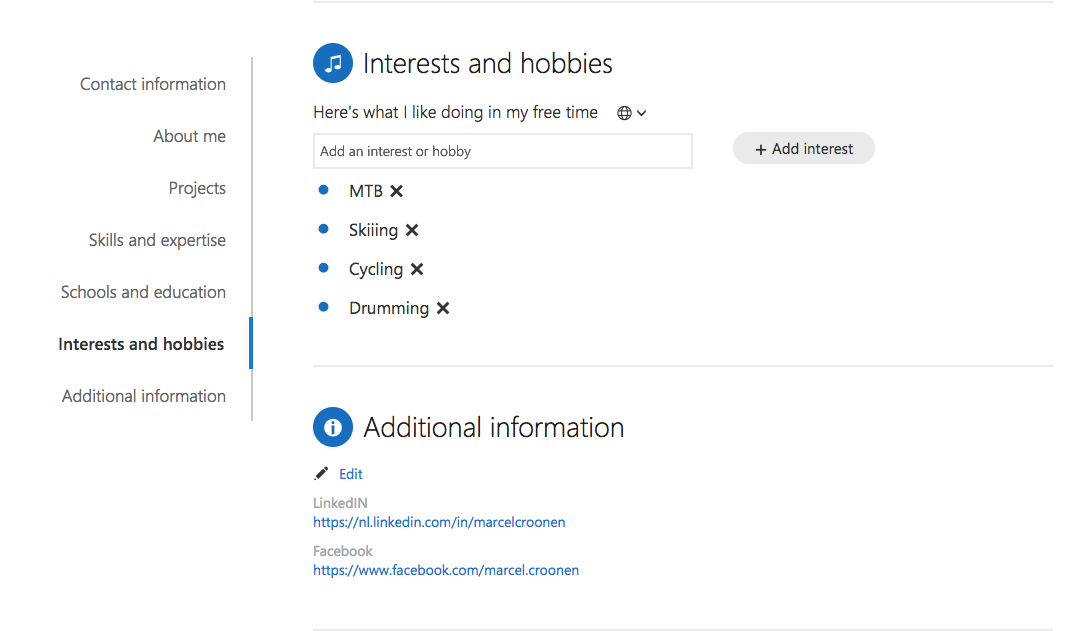
Adding links to social media profiles (LinkedIn / Facebook) on Delve Profile Page

Delve enables you to manage your Office 365 profile, and to discover and organize the information that’s likely to be most interesting to you right now – across Office 365.  Your can view and update your profile

But what to do if you want to add links to your social profiles such as LinkedIn of Facebook?


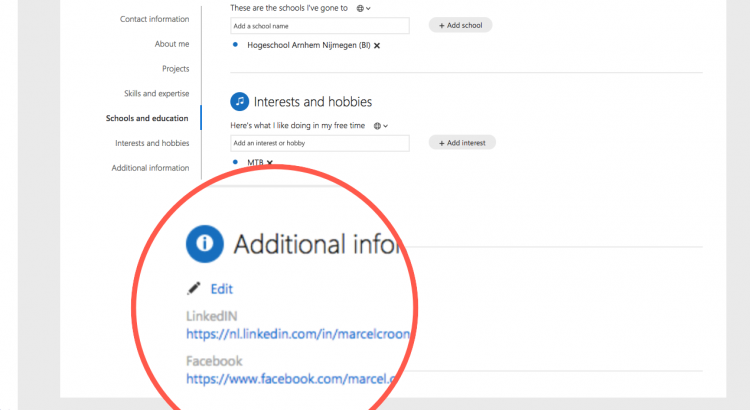
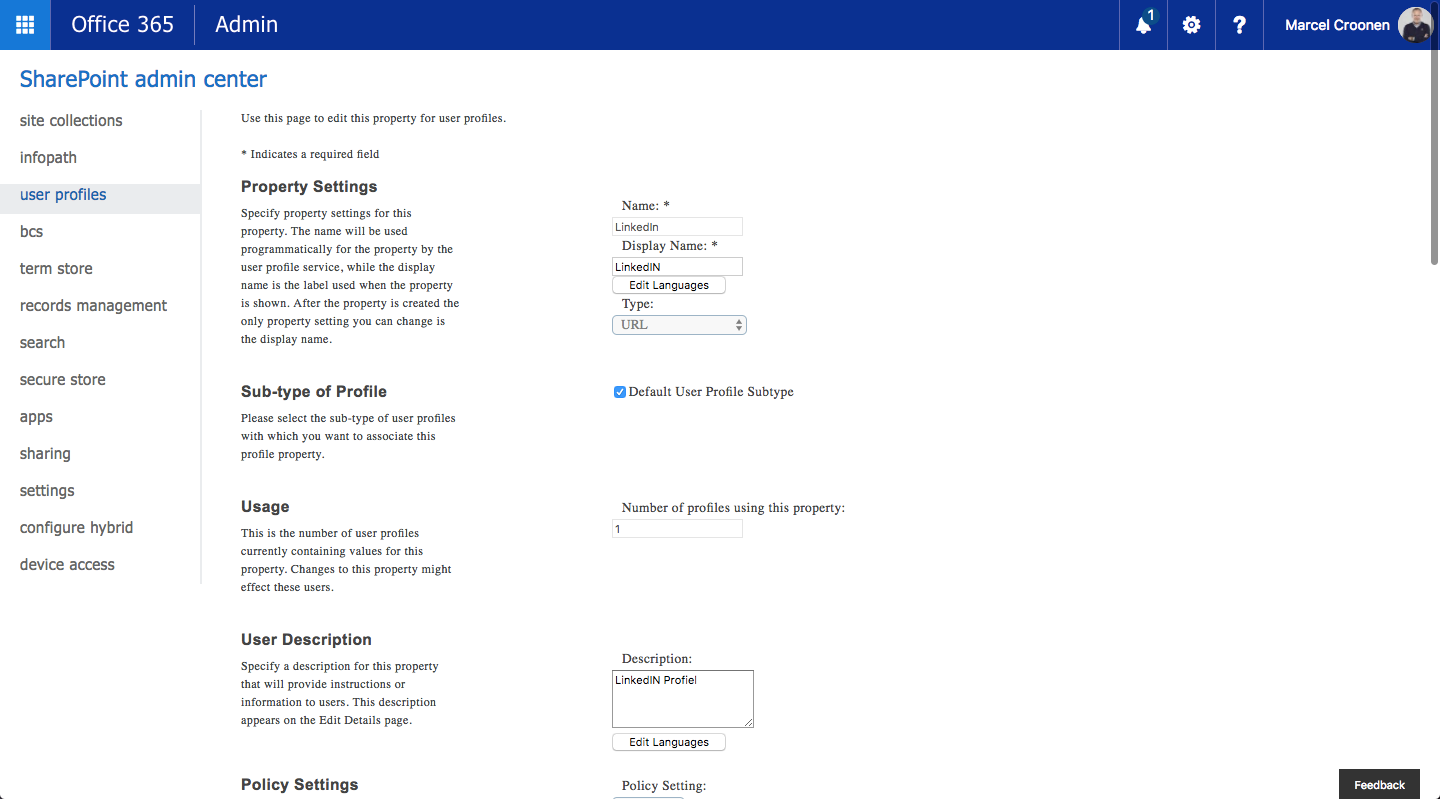
This can be done by adding extra properties (Admin centers > SharePoint.) on the Delve Profile Page which will be shows under Additional Information. Delve uses information from User Profiles.

If you want to show more properties on the Delve profile page, make sure the properties with Default Privacy Setting: Everyone, and Show in the profile properties section of the user’s profile page and Show on the Edit Details page.

Admin Centers > SharePoint > User Profiles > Manage User Properties.


You can even add an extra section “Social” to store the properties


Extra section will only be shown under Edit > Edit Details

More information about adding sections / custom properties: