When you add a page to a site, you add and customize web parts, which are the building blocks of your page. You’ll see them when you click the + sign on the page.
Here are the web parts you can use and their descriptions. Click the one you are interested in for more information on how to use it.
NOTES:
- Some functionality is introduced gradually to organizations that have opted in to the First Release program. This means that you may not yet see this feature or it may look different than what is described in the help articles.
- You must be a site owner or SharePoint administrator to work with pages.
- If you are a site owner but you are unable to add a page, your administrator may have turned off the ability to do so.
Text
Use the Text web part to add paragraphs to your page. Standard formatting options like styles, bullets, indentations, highlighting, and links are available.

Highlighted content
Use this web part to dynamically display content based on content type, filtering, or a search string. You can also set the scope of the search to a site or site collection sort the results. Here’s how:
- Click + and then select the Highlighted content web part.
- Click the edit button
 and select your options.
Site Activity
This web part automatically shows recent activity on your site, such as files uploaded, edits made, lists and libraries created, and so on. Just add the web part, and the latest activity is pulled in automatically.

Document
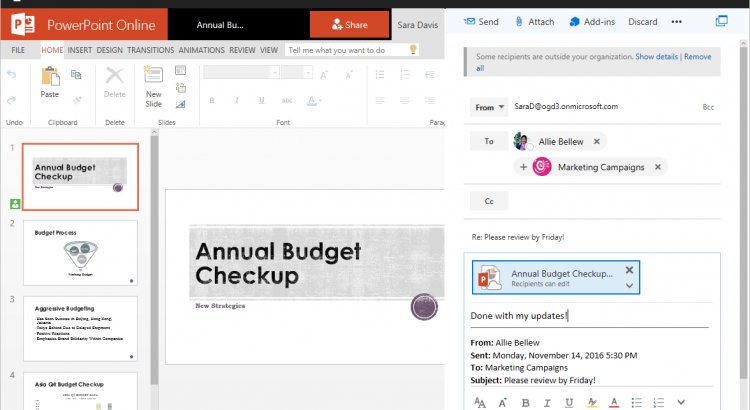
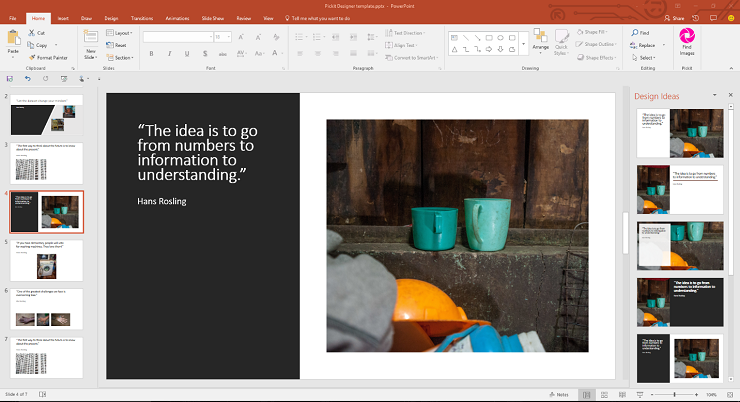
Use this to insert an Excel, Word, or PowerPoint, or .PDF document on the page. Users will see the starting page of the document in a frame, and can scroll through the pages or even download the document. Here’s an example of a PowerPoint presentation on a page:

To add a document to your page, do this:
- Click + and then select the Document web part.
- Click Add a document.
- Choose a recent document, or browse, upload, or use a link to insert the document you want.
NOTE: Users can click  to see options for the document including Download a Copy, Print to PDF, and Embed code (to see the code used to embed the document on the page).
Click the edit button to specify settings for the document.
Image
Use this to insert an image on the page, either from your site or your hard drive.
- Click + and then select the Image web part.
- Click Add an image.
- Choose a recent image, or browse, upload, or use a link to insert the image you want.

Office 365 Video
Use this to display a video right on the page from your organization’s Office 365 Video portal.
- Click + and then select the Office 365 Video web part.
- Click Add video.
- In the toolbox on the right, click Go to your organization’s video portal to find the video you want, and then paste the link for the video into the box.
Content Embed
You can display content on your page from other sites like Bing maps and YouTube videos. Depending on the site, you can either use the site’s address or embed code that the site provides. For more information, see Add content to your page using the Embed web part.
- Click + and then select the Embed web part.
- Click Add embed code.
- In the toolbox on the right, add an URL to the web site or the embed code from the site.

Quick links
You can “pin” items to your page for easy access.
 To do this:
- Click + and then select the Quick links web part.
- Click + Add.
- In the toolbox on the right, either select an item from the list, or add a link to a page or file you want to pin under Create link to.
You can open the pinned item, move it to change the order of items shown, edit the link or title, or unpin by clicking the ellipses (…) at the bottom right of each item.

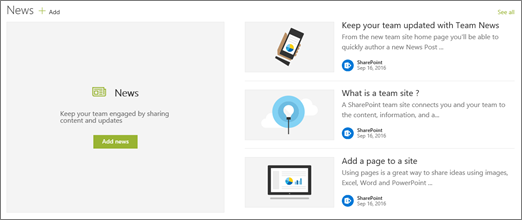
News headlines and News list
If you removed the News from your Group team site page, you can add it back. Or, you can add it to a different page. To do this, you can use the News headlines or News list web parts.
- Click Edit at the top of the page.
- Click the + sign.
- To add the News with the large image space and three additional stories like that which is shown as default on the home page, select News headlines.

To add a simple list of news stories without the large image space on the left, select News list.
NOTE: For more information on how to work with the News features, see Keep your team updated with News on your Group team site.
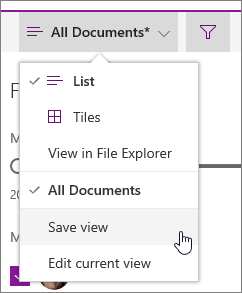
 at the top right of your list or library to open the smart filter pane. The filters you see are based on the contents displayed on the page.
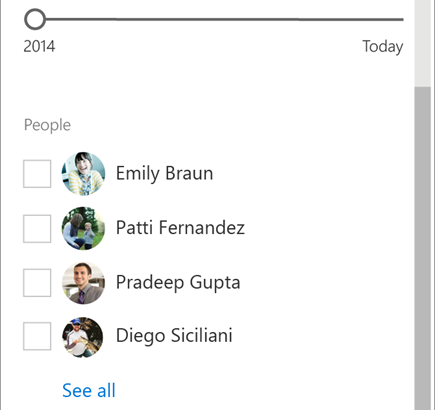
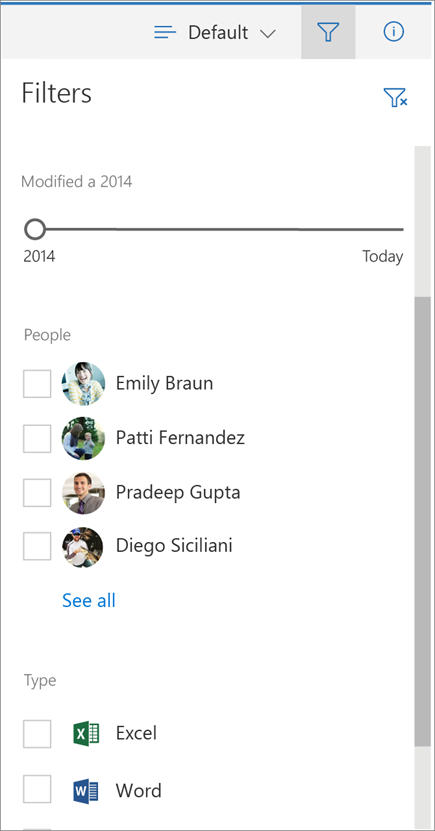 For document libraries, 3 default filters show: Modified, People and Type. You can narrow the list to recent files only. You can filter your view to files edited by one or more people. And, you can change your view to show files of one or more types, like Word documents and PowerPoint slides.
 at the top right of the smart filter pane.