Add or remove columns on a page
Add a section with columns to a page
- Go to the page where you want to add columns.
- If you’re not in edit mode already, click Edit at the top right of the page.
- Hover your mouse below the title area of the page, or above or below an existing web part, and you’ll see a line with a circled +, like this:

- Click
 .
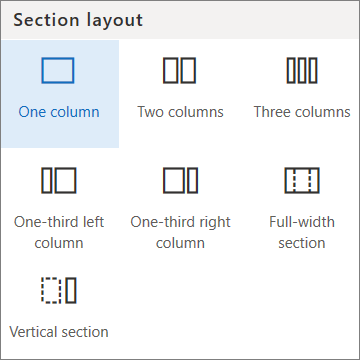
. - Under Section layout, select the number of columns you want.

Add or remove columns in an existing section
NOTE: When you have content in two or more columns, and then reduce the number of columns, the content in the right most column will move to the next column on the left. If you reduce to one column, content in the second or third columns will move to the bottom of the first column.
- Go to the page where you want to add columns.
- If you’re not in edit mode already, click Edit at the top right of the page.
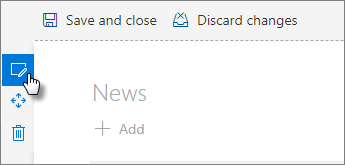
- Each section of a page is marked with a dotted line. In the section you want to add columns to, click Edit section on the left side of the page.

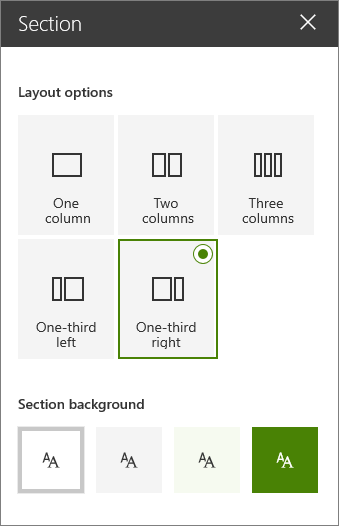
- In the Section toolbox on the right side, choose the number and type of columns you want.

Add content to a column
- If you’re not in edit mode already, click Edit at the top right of the page.
- Go to the column where you want to add content.
- Hover your mouse over the column and click
 .
. - Select the web part you want to add to the column, and then add your content to the web part. Learn about using web parts.
